.JPG) |
| AFTER |
 |
| BEFORE |
Do you need a weekend project that is hands-on, easy and inexpensive? ? Re-use bottles to update an old object!
I know the proper spelling of mosaic but I'm spelling it Mozaik because there is a restaurant here in Port-au-Prince/Petionville, Haiti called Mozaik! That is more unique for me. I must say this project was VERY inexpensive and made such a great improvement in our back yard and it only took me three days! I would give yourself a week though - I was very excited and rushed.
It definitely turned out to be more hard work than I anticipated. I'm not sure if I underestimated the size of the step or just thought I could perform magic (one can only wish). The grouting process would definitely be easier with a second person.
I would recommend using a tarp/old blanket or something that you can re-use or get rid of instead of wasting a bunch of trash bags like myself. Additionally I recommend using gloves, as I still have a microscopic piece of glass in my index finger. It will come out soon on its own!
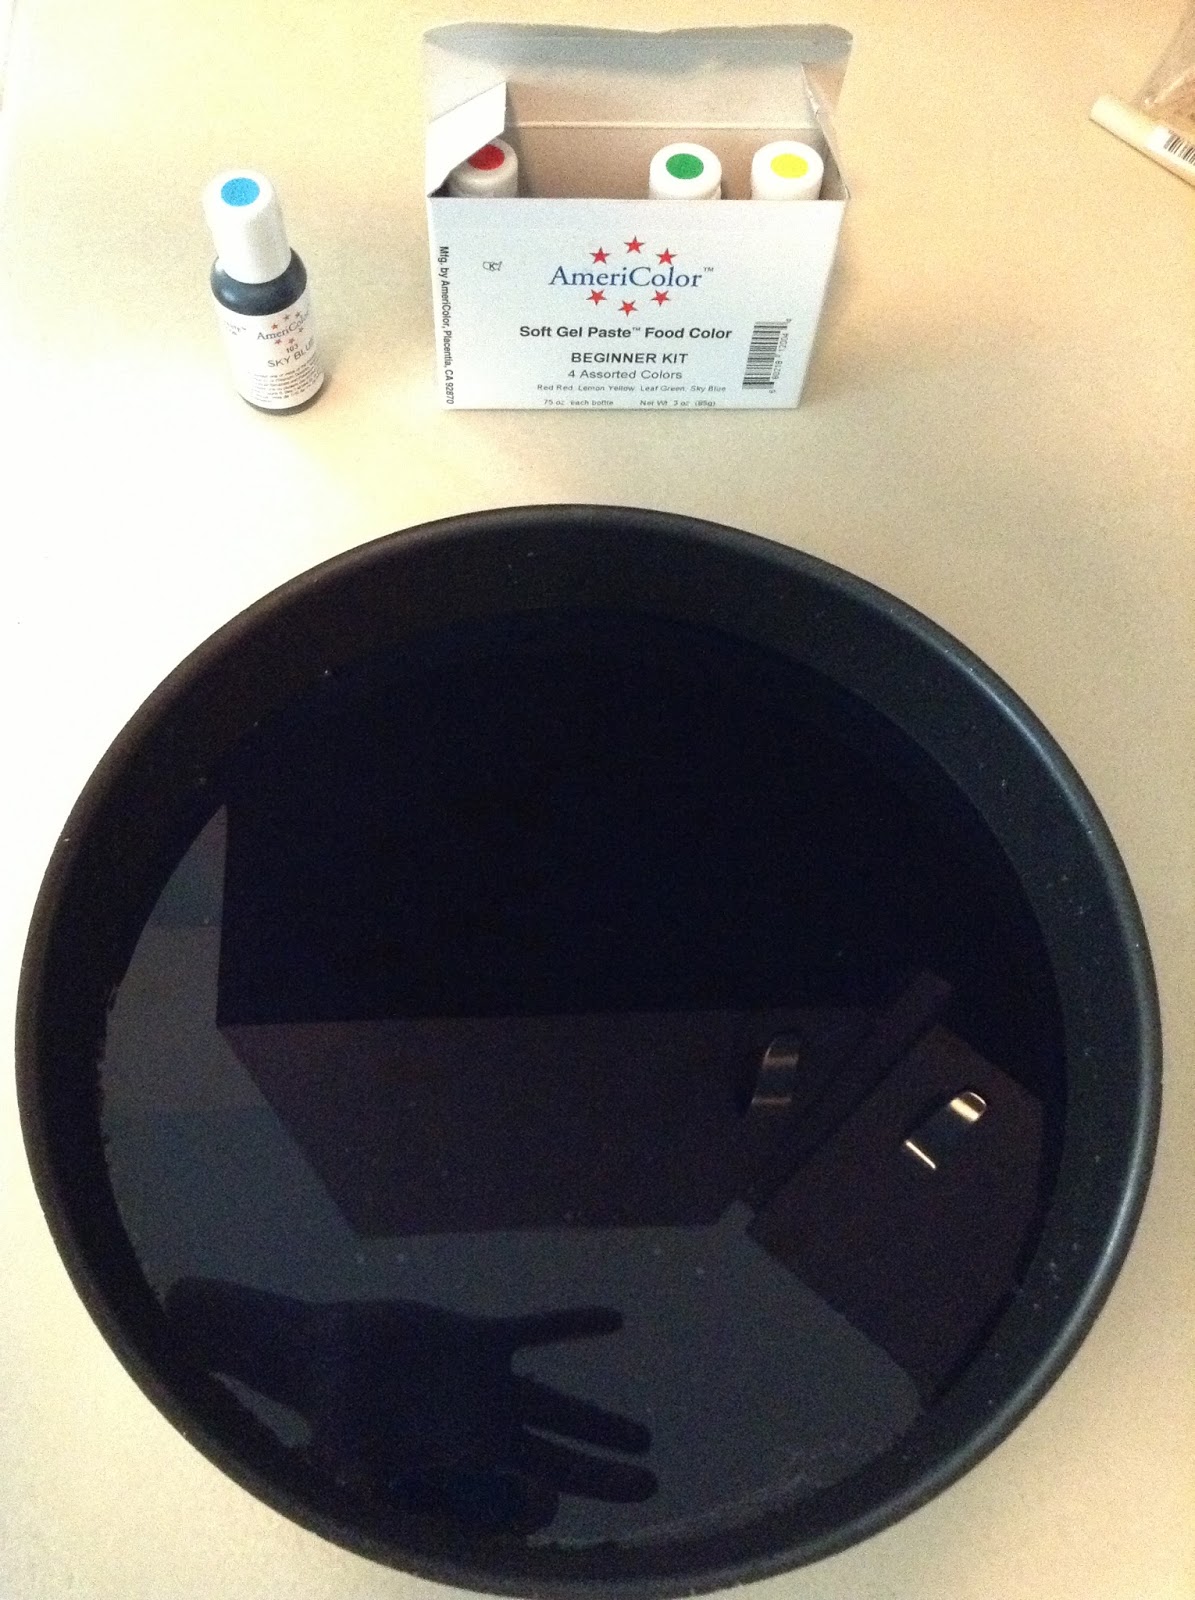
Items you need: 2 buckets (one for grout, one for water), 2 old rags, a grout sponge or large regular sponge, grout, cement glue *glue for whatever material you are gluing (ex: glass onto cement etc.), glass (the best part! we used beer bottles!), Brush *Thick painbrush would work fine, Grout Float *I didn't have one this time but will definitely have one for the next mosaic project I do, for outside projects wear lots of bugspray and sunscreen!
Step 1. Recruit some friends to empty out wine/beer/or glass bottles. In Haiti we have a shortage of variation/options of beer! so I could only use green (Presidente), brown (Heineken), and blue (some weird cider beer).
Step 2. Soak in water and remove all labels. Dry.
.JPG) Step 3. Sort colors. Decide what color you are going to start with, I started with blue. I placed all of the blue bottles in a cardboard box *Make sure the bottom of the box is completely taped so that no piece can fly out the bottom. I used a 20 pound weight to break the bottles and covered them with 3 durable plastic bags (not the grocery store plastic bags).
Step 3. Sort colors. Decide what color you are going to start with, I started with blue. I placed all of the blue bottles in a cardboard box *Make sure the bottom of the box is completely taped so that no piece can fly out the bottom. I used a 20 pound weight to break the bottles and covered them with 3 durable plastic bags (not the grocery store plastic bags).
.JPG)
.JPG) Step 4. After the glass is broken, put your gloves on! Sweep off selected area or object prior to beginning the gluing process. Once the surface is clean you can begin to glue. I am in Haiti so it was more difficult to find the perfect glue, but the monkey kind that I found worked out great! I placed a decent amount on the surface and then placed the pieces into the glue. If you have children I would recommend buying straight glass planes to break up instead of the bottles. Bottles are round and it is more difficult to find straight pieces. This resulted in some curved pieces with sharp edges sticking out (creating more work for me later when I had to grout around the edges so the pieces were covered and safe.) *This step took me two days. Let all of the pieces dry for 24 hours. It rains frequently here, so I placed garbage bags lightly over the top and placed them down with some rocks, just in case.
Step 4. After the glass is broken, put your gloves on! Sweep off selected area or object prior to beginning the gluing process. Once the surface is clean you can begin to glue. I am in Haiti so it was more difficult to find the perfect glue, but the monkey kind that I found worked out great! I placed a decent amount on the surface and then placed the pieces into the glue. If you have children I would recommend buying straight glass planes to break up instead of the bottles. Bottles are round and it is more difficult to find straight pieces. This resulted in some curved pieces with sharp edges sticking out (creating more work for me later when I had to grout around the edges so the pieces were covered and safe.) *This step took me two days. Let all of the pieces dry for 24 hours. It rains frequently here, so I placed garbage bags lightly over the top and placed them down with some rocks, just in case.
.JPG)
.JPG)
Step 5. Grout time! I bought mandarin colored grout/cementix was the brand. Pour into a bucket and mix with water. Don't be worried about it looking too wet or too thick - you can always add either more water or more grout! It is ready to be used when you are able to dip a pencil/stick into the grout and the grout sticks to the surface. None of the grout should drip or run-down the stick, but it should be smooth enough that you can mix it with ease.
.JPG)
.JPG) Step 6. Drip-Proof the area. Most of the grout that drips will brush off in the wind or wash away in the rain but why not avoid having to stare at it, waiting for the next rain...and just put a tarp down? You can see some orange residue from my pictures...I am still waiting for it to dissappear. Learn from me.
Step 6. Drip-Proof the area. Most of the grout that drips will brush off in the wind or wash away in the rain but why not avoid having to stare at it, waiting for the next rain...and just put a tarp down? You can see some orange residue from my pictures...I am still waiting for it to dissappear. Learn from me.
.JPG)
.JPG) Step 7. Start grouting. Add heaping amounts of the grout and smooth it out. Continue until the area is completed. It will cover up the glass pieces and look completely orange (look at the pictures to the right and left where I am adding the grout, it is covered in grout). I was getting eaten alive by the mosquitos!! Don't forget bug spray! Let sit for ten minutes. Take the sponge and brush off the excess grout on top. Use cloth to wipe each individual piece of glass to make it shiny and clean. *Great task for a second person.
Step 7. Start grouting. Add heaping amounts of the grout and smooth it out. Continue until the area is completed. It will cover up the glass pieces and look completely orange (look at the pictures to the right and left where I am adding the grout, it is covered in grout). I was getting eaten alive by the mosquitos!! Don't forget bug spray! Let sit for ten minutes. Take the sponge and brush off the excess grout on top. Use cloth to wipe each individual piece of glass to make it shiny and clean. *Great task for a second person.
Step. 8. Let dry for a few hours in the sunlight. Use a thick paint brush or grouting brush to brush away the dried pieces. You will notice there will be a lot of powdery, left-over grout that needs brushed off. This will happen for a few days, especially if your project is outdoors.
.JPG) Step 9. Admire and enjoy! Brainstorm your next project now that you have the confidence and know you can do it!*I will add a picture in the sunlight! Haven't been at home when the sun hits it directly.
Step 9. Admire and enjoy! Brainstorm your next project now that you have the confidence and know you can do it!*I will add a picture in the sunlight! Haven't been at home when the sun hits it directly.
.JPG) |
| My favorite piece is in this section! Can you guess which one? |


.JPG)
.JPG)
.JPG)
.JPG)
.JPG)
.JPG)
.JPG)
.JPG)
.JPG)
.JPG)
.JPG)
.JPG)
.JPG)